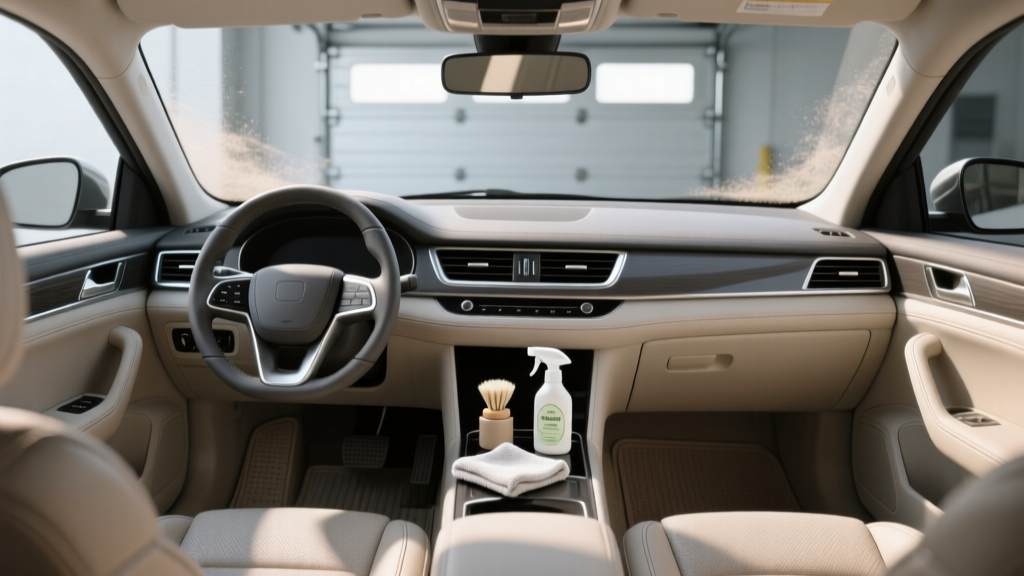
Cleaning for Restorative Tip - CarInteriorMix
Cleaning for Restorative Tip: Simple Ways to Make Your Car Interior Look ?New Again?
Most car interiors don?t look tired because they?re truly worn out?they look tired because grime has built up in the spots you touch every day. Body oils on the steering wheel, dust packed into seams, mystery crumbs in the seat tracks, and that dull haze on plastic trim can make even a newer vehicle feel neglected.
The good news: restorative interior cleaning isn?t about fancy detailing tricks. It?s about using the right cleaner in the right place, working in a smart order, and finishing with a few small steps that bring back color, clarity, and that ?freshly cleaned car? feel. Below are practical, repeatable tips you can knock out in an hour or two.
-
1) Clean in the right order: top-down, dry-first, then wet
Start with dry work (vacuuming and dusting) before any sprays. If you wipe with cleaner first, you?ll turn loose dust into mud and smear it into texture. Work from the headliner and vents down to the carpets so dirt doesn?t fall onto areas you already cleaned.
Real-world win: If you?ve ever cleaned your center console only to find fresh dust on it later, it?s usually because you didn?t hit the vents and dash first.
-
2) Use a ?two-towel? method on interior plastics to avoid streaks
For dashboards, door panels, and center consoles, spray your interior cleaner onto a microfiber towel (not directly on the surface), wipe, then immediately buff with a second dry microfiber. This removes the haze that makes black plastics look gray and tired. Good options: Meguiar?s Quik Interior Detailer, P&S Xpress Interior Cleaner, or a DIY mix of warm water + a tiny drop of gentle dish soap (use sparingly).
Safety note: Avoid overspray around screens, buttons, and airbags; liquid can seep into seams and cause issues.
-
3) Reset your steering wheel and shifter: degrease without making it slippery
The steering wheel is where body oils build fastest, especially on leather-wrapped wheels. Mist a microfiber with a dedicated interior cleaner (or diluted APC like Simple Green at a mild ratio?test first), scrub lightly with a soft brush if needed, then wipe dry. Finish with a clean towel until the surface feels grippy, not shiny.
Example: If your wheel looks glossy and feels slick in summer heat, that?s usually oil and product buildup?not ?nice leather.?
-
4) Pull the mats and clean them like a separate project
Floor mats trap most of the odor and grime in a car interior. Rubber mats: rinse, scrub with an all-purpose cleaner, rinse again, then dry completely before reinstalling. Carpet mats: vacuum thoroughly, spray a fabric cleaner (Chemical Guys Fabric Clean or a diluted upholstery cleaner), agitate with a stiff brush, then blot with microfiber?don?t soak them.
Real-world tip: Put mats in the sun while you work on the rest of the interior; reinstalling damp mats is a fast way to grow that musty smell.
-
5) Vacuum smarter: seat tracks, creases, and the ?French fry zone?
Use a crevice tool and physically move the seats all the way forward and back to access the rails and the space underneath. That?s where coins, sand, pet hair, and food collect?and where odors start. If you don?t have a shop vac, a strong handheld vacuum plus a detailing brush to loosen debris will still make a big difference.
Example: If your car smells ?weird? even after wiping surfaces, check under the seats?old spills and crumbs hide there.
-
6) For upholstery stains, use the ?spray, agitate, blot? method (not soak-and-pray)
Whether you?re cleaning cloth seats or carpet, avoid flooding the fabric. Lightly spray an upholstery cleaner, agitate with a soft interior brush, then blot with a clean microfiber towel to pull out the dirty moisture. Repeat in passes; it?s slower but prevents water rings and helps the seat dry faster.
Scenario: Coffee spill on a cloth seat: blot immediately, then clean in small circles from the outside edge toward the center to prevent a big halo stain.
-
7) Restore clear windows and screens: separate towels, minimal product
Use an ammonia-free glass cleaner (Invisible Glass is a solid pick) and two clean microfiber towels?one to clean, one to buff. For infotainment screens, skip glass cleaner; use a screen-safe cleaner or a slightly damp microfiber with water, then dry immediately. Clean the inside windshield last so you don?t fog it up with interior cleaner residue.
Safety note: Ammonia-based cleaners can damage tint film and may haze some plastics.
-
8) Hit vents and seams with a soft brush, then vacuum?don?t blast with air
A soft detailing brush loosens dust in air vents, stitching, and textured trim where towels can?t reach. Brush gently while holding the vacuum nozzle nearby to capture the dust instead of redistributing it. If you use compressed air, be careful?blowing debris deeper into electronics is a common mistake.
Example: If your dash looks clean but dust keeps appearing, it?s often living in the vent fins and popping out every time you run the fan.
-
9) Use a protectant the right way: matte finish, not greasy shine
After cleaning, apply a UV protectant to plastics and vinyl to slow fading and cracking?especially if you park outside. Choose a non-greasy, factory-matte product like 303 Aerospace Protectant or Meguiar?s Natural Shine, and apply it to a towel first, not the dash. Buff off excess so it doesn?t attract dust or reflect in the windshield.
Real-world tip: If you hate glare at sunset, you?ll love a matte protectant compared to shiny dressings.
-
10) Deodorize at the source: clean first, then neutralize odors
Air fresheners cover smells; they don?t fix them. Once you?ve vacuumed and wiped everything down, use an odor neutralizer (an enzyme spray for organic odors like food or pets, or a product like Ozium used carefully with ventilation). Replace the cabin air filter if odors return quickly?especially after smoke, pets, or a wet carpet episode.
Safety note: If using aerosol deodorizers, follow label directions, don?t breathe the spray, and air out the car thoroughly before driving.
-
11) Fix ?restoration-killer? details: cupholders, sticky buttons, and door jambs
Cupholders and sticky switch panels can make a clean interior still feel grimy. Use cotton swabs or a soft brush with interior cleaner to break up residue, then wipe with a damp microfiber and dry. Don?t forget door jambs?wipe them with a mild APC and a towel; it?s a small step that makes your car feel genuinely refreshed every time you get in.
Example: Clean door jambs once and you?ll stop getting dirty pant legs from brushing against them.
Quick Reference Summary
- Work top-down and dry-first to avoid turning dust into sludge.
- Use two towels on plastics: clean, then buff dry for a restored look.
- Degrease steering wheel/shifter until they feel grippy, not shiny.
- Clean mats separately and dry fully to prevent musty odors.
- Vacuum under seats and along tracks?odor and debris live there.
- For stains: spray lightly, agitate, blot; repeat instead of soaking.
- Ammonia-free glass cleaner for windows; screen-safe method for displays.
- Brush vents/seams while vacuuming to capture dust.
- Finish with a matte UV protectant for a factory-clean interior look.
- Neutralize odors after cleaning; consider replacing the cabin air filter.
Wrap-Up
A restorative interior clean isn?t about spending all weekend?it?s about hitting the high-impact areas with the right tools, in the right order, and finishing with protection. Try a few of these tips on your next quick interior cleaning session, and you?ll be surprised how much newer your car feels without spending detail-shop money.